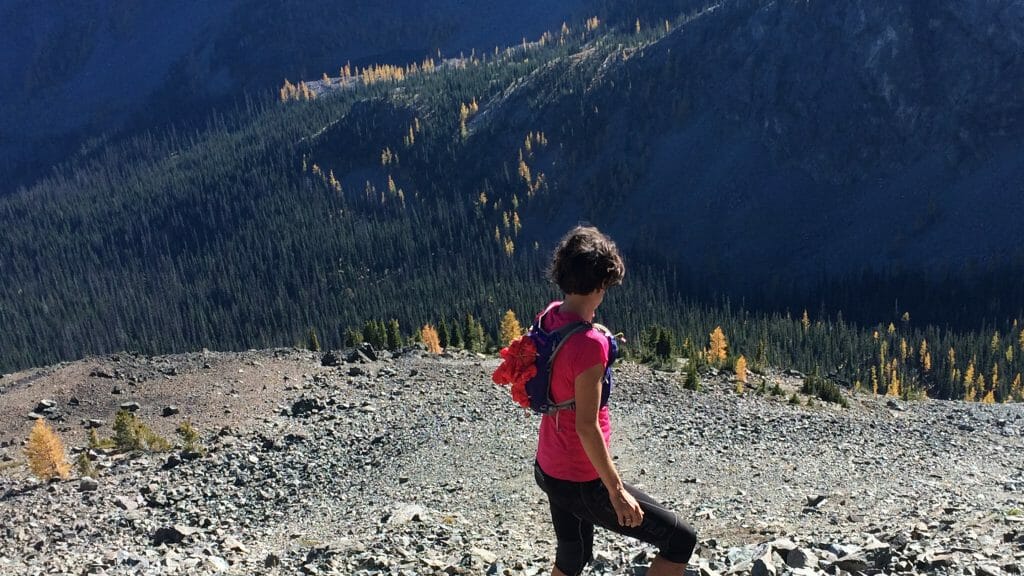
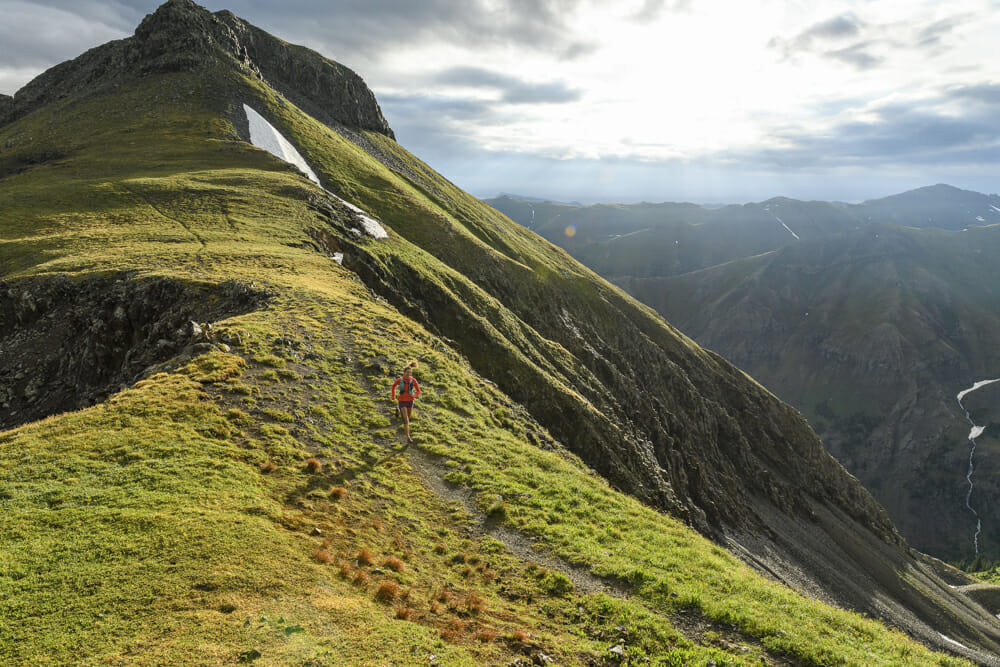
I love running downhill. So much so that for the ultras I run I tend to subtract the downhill miles from the overall distance to make it more manageable to wrap my head around the undertaking. Years ago, while teaching technique clinics, I quickly realized that not everyone shares this love. While I wanted to work on uphill technique, more people were interested in how to go downhill without knee pain, ankle injuries, or blown-out quads. I’ve come up with three tips that can help with your downhill prowess: engage your core, look down the trail, and practice a quick turnover.
Downhill Running Technique Tips
Tip #1: Engage Your Core
We hear it all the time, but what exactly does “core” mean and why is it important? Simply put, our core comprises several layers of muscles that connect the upper and lower body. From the most superficial to the deepest, there is the rectus abdominis (the six-pack muscle), the external obliques, the internal obliques, and the transverse abdominis (or TA). The TA also connects to the pelvic floor muscles that give support from the bottom of our pelvis, so I count them in our discussion as well. The outer part of the hip houses the following hip stabilizers: gluteus medius, gluteus minimus, piriformis, and several deep lateral rotators.
Why do these muscles matter? Without going into a full anatomy lesson, those deep muscles work together to provide much-needed stability while we repeatedly impact the ground and propel ourselves forward. If any of those muscles are either underdeveloped or on vacation (i.e., not firing at all), our larger muscles provide the stability (or try to). This leads to muscle tension at best, alignment issues or injuries at worst. Furthermore, proper core muscle tension ensures good posture to keep our hips and center of gravity forward on the hill. Especially as surfaces change between stable and unstable (think snow, rocks, roots, mud, etc.), a stable core enables us to move nimbly down the trail or scree.

Tip #2: Look Down the Trail to Extend Your Hips
Our brain instantly reads what our eyes see in front of us and responds. Proprioceptors in our connective, fascial, and muscle tissues send direct impulses to our brain sharing where we are in space, and without any direction on our part, we’re many steps down the trail. Looking as far down the trail as possible gives our brain and body ample time to respond and puts us in the best position to use gravity to our advantage.
Try this: stand up and look 4 to 6 feet in front of you and feel where your hips are in relation to your feet. Next, bring your gaze back to your feet and feel what happens to your hips. Likely they are now behind your center of gravity in a mini squat. That position does several things: shortens/contracts your quad muscles; requires more strength in the hips to stabilize your joints (to keep proper alignment to prevent injuries); and requires more strength in the bigger muscle groups (quads, hamstrings, and glutes) to move down the trail, much like pushing a big gear on a bike is harder than spinning in the granny gear.
Increased tension means your legs work more than necessary, which leads to less efficiency, more tension, and potentially more injuries (of the overuse variety) over time. On the other hand, if you focus down the trail and engage your newfound core, your hips stay close to your center of gravity where it’s easier to stabilize, absorb force, and propel yourself forward. When done this way, downhill running really is “free speed.”

Tip #3: Practice a Quick Turnover
A high turnover of 180 steps/minute (3 steps/second) reinforces the other two tips to make running downhill more fun and less “ouchie.” A slower cadence means that you’re landing with your foot out in front of your hips, sending all the landing force of the downhill up through your body. This puts undue pressure on your joints and requires more from your muscles. Additionally, if you happen to land on a root or rock while your hips and body make their long journey to the next footfall, you’re requiring a lot of time for your muscles to stabilize.
Alternatively, if you take quick steps close to your hips, even if you hit an unexpected obstacle, you have already transitioned to the other foot and your proprioceptors have reacted to keep you upright and stable. Finally, it’s easier to engage your core and keep your hips forward if you are maintaining a quick turnover.
By adding core engagement, looking down the trail, and a quick turnover to your technique repertoire, you’ll be well on your way to long-lasting downhill running bliss.
Drills to Improve Your Downhill Running Technique
In addition to keeping those three cues in mind during your runs, practice these drills and exercises a few times a week.
This helps with a quick tempo and core stability. The goal with this is to stay tall the whole time and keep your feet glued together. This is not a squat exercise. Start with 20 seconds, and work up to 45 seconds. You can also progress this by hopping with one foot.
This will strengthen your core. Make sure you’re engaging the deeper muscles by pulling your belly button toward your spine. If you’re unfamiliar with engaging your core, this is a good preliminary exercise.
Grassy Hill Repeats
Find a grassy hill (golf courses or parks work well) and run down it, practicing quick feet. Using a hill without additional obstacles to start will give you confidence to look farther in front of you; then you can tackle more technical trails. Start with short repeats (30–60 seconds), as your brain works hard to form new neuromuscular pathways and learn new movement patterns.
*Disclaimer/secret: These technique tips are helpful for all terrain, but since we’re talking downhill, I’m focusing on that aspect.

