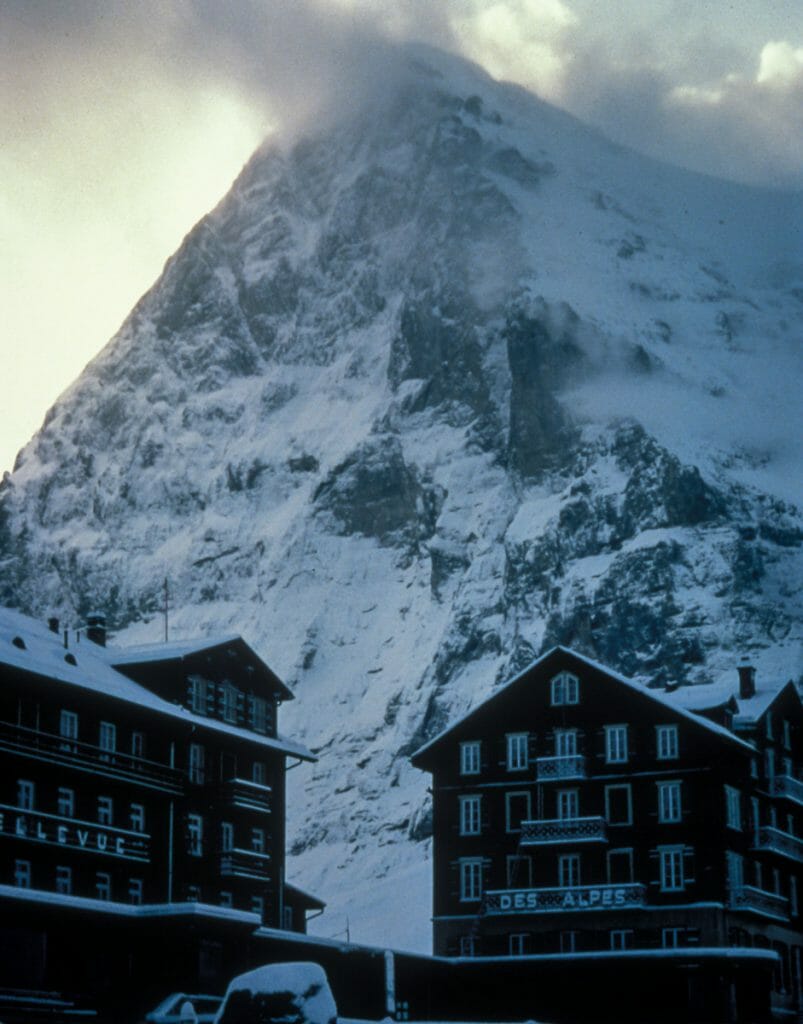
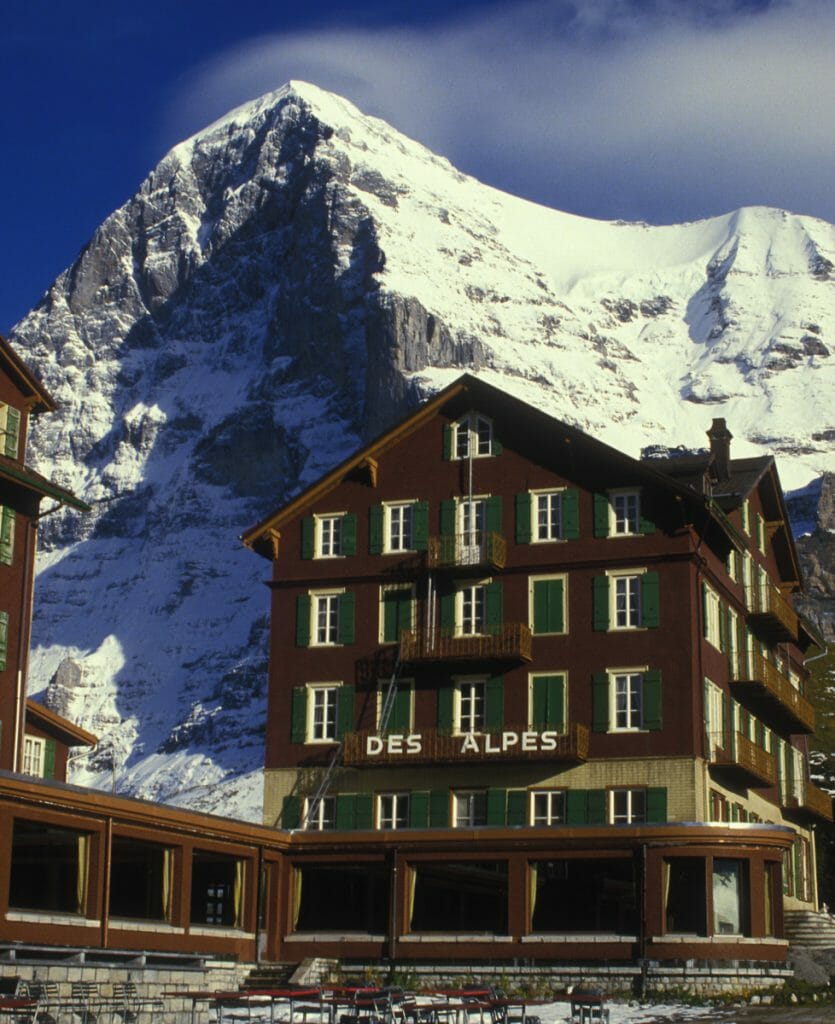
Training for Alpinism is arguably one of the most complex mental and physical skill sets that people train for simply because you have to be good at everything. For many climbers the 1938 route on the Eiger would rightfully be a career highlight. It is a brilliant climb, truly world-class in every way. In this article I will use training for and climbing the Eiger via its North Face as a parable for training for all alpinism.
Physical Training.
Routes to Do in Advance of the Eiger North Face
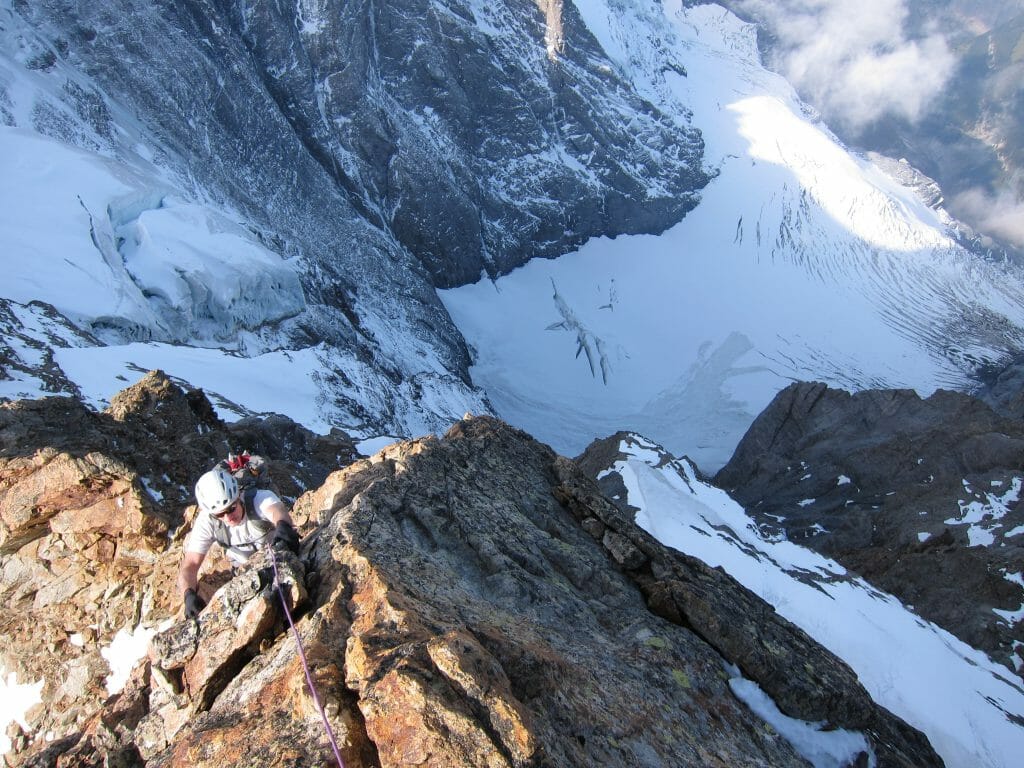
The best test of your preparedness, and necessary in any case, would be to climb the Eiger itself, the Monch, and probably the Jungfrau, all by easier routes. I climbed the Eiger five times by three routes before I ever set foot on the North Face for my first attempt. I recommend that every aspiring ’38 route climber climb one of these other routes, usually either the West Face route, which is a chossy slog, or—my preference—from the Monchjoch Hut via the South Ridge, which is a surprisingly involved outing, and more fun in my opinion than the West Face. Both of these routes are reliably in condition. The Mittelleggi Route has the potential to be a classic, but the overplacement of big, thick fixed ropes that you are supposed to climb hand-over-hand ruined the experience for me.
Know the Descent and the Weather, and Pick the Right Season
Descent
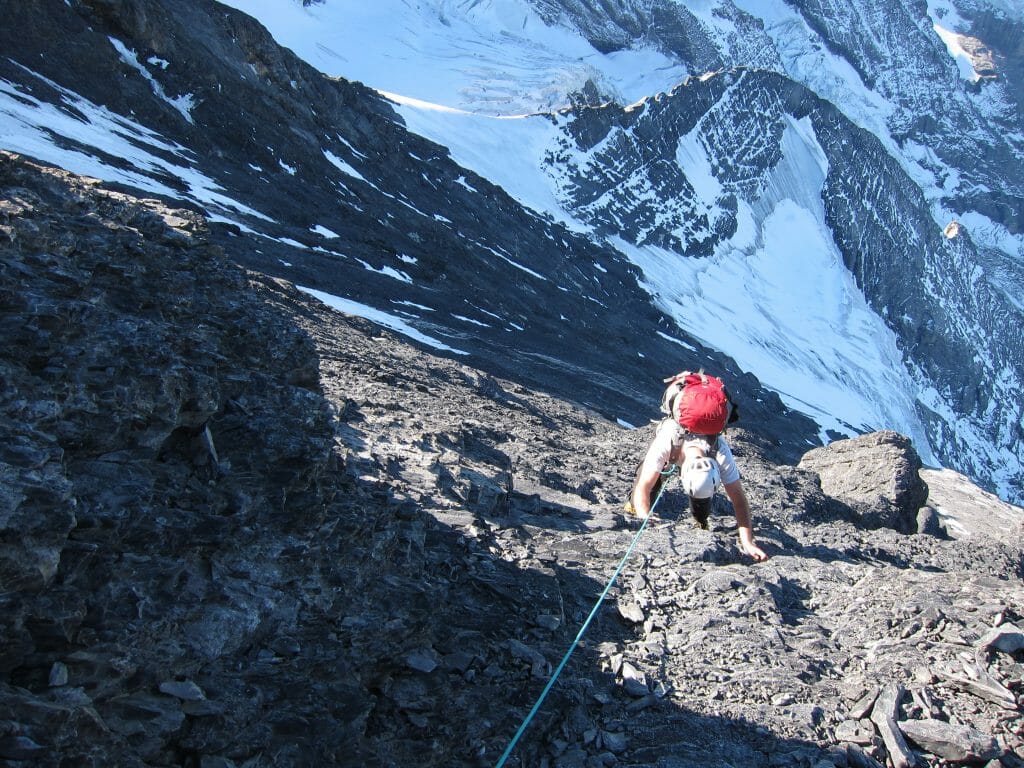
Keep in mind that the descent off the Eiger is not trivial, especially in bad weather. A GPS will struggle to show you how and where to get around all the small rock bands you need to navigate on the descent. Therefore you need to understand the terrain—to be able to see it in your mind’s eye.
Weather
You also should know how the weather works, how it builds, and how clouds and storms just sit in against these mountains. You need to experience this to sufficiently understand it. That said, download and familiarize yourself with the app MeteoSwiss. It is hands down the best weather app I’ve ever used.
Season
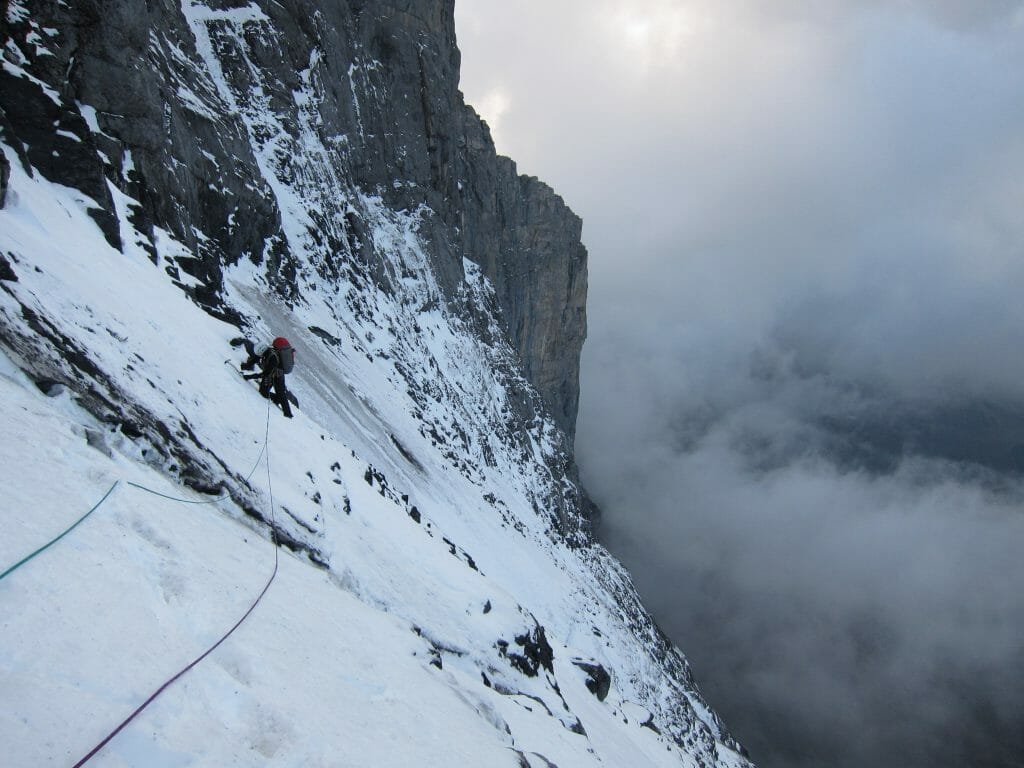
Wait for the right season in the right year. The Eiger North Face needs a lot of snow that has had time and enough warm/cold cycles to turn that snow into a lot of ice. It’s a very dangerous route when the face is dry, as dry equals rockfall. In the spring of 2018, the face was dry and icy; the previous winter’s prodigious snowfall was too cold. The best snow for a face like this is warm, wet, sticky snow. With a lot of snow on the upper reaches of the mountain, with the right summer—meaning warm days and cold nights with some significant summer-snow events—conditions could be good by autumn.
Calculating alpine climbing conditions in the Alps is a lot like estimating fitness. What happened over the last 90 days has a huge effect on conditions, with the previous seven days having an outsized effect on current conditions. When I have a peak in the Alps (or Canadian Rockies or another lower-altitude alpine range), I often will start a spreadsheet that records the current high/low temp, sky cover, and precipitation amounts for every day. This builds a picture of conditions, much as it would build a picture of snowpack, and therefore avalanche conditions. Note that this does not seem to work for higher and colder ranges—the Himalaya, Karakoram, and Denali—where conditions don’t fluctuate very much and are more strongly affected by recent winds and snowfall amounts from the prior year.

Become Familiar with the Route
The Difficult Crack
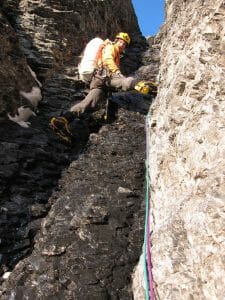
The Difficult Crack is the single most important pitch on the climb. You have to know where it starts and what it looks like. This is the first hard pitch of the route and, in my opinion, it is the key to the entire route. I discovered that once I knew this pitch, the rest of the routefinding was relatively easy as long as I stayed oriented to the big features of the face. If you get lucky and find a boot track going to the start of this pitch, consider yourself blessed. This is the single most difficult and critical piece of routefinding on the route.
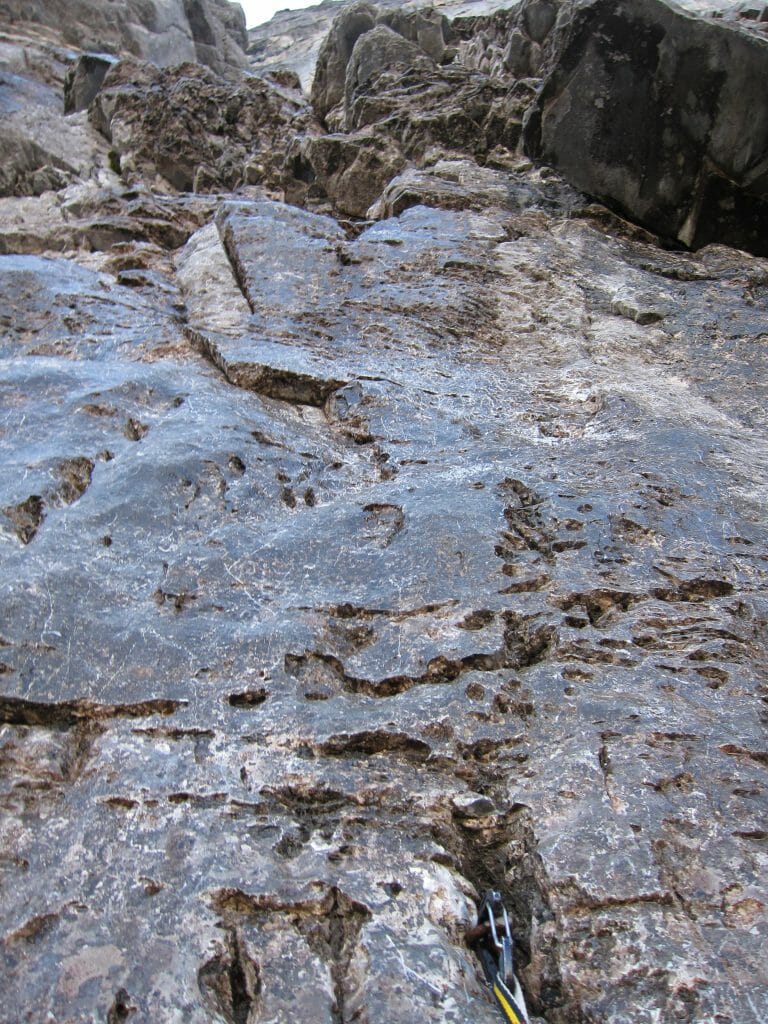
Remember that the 1938 route was in fact climbed in 1938. Not in 2018. The route does not go up a 50-meter hand-to-fist crack that looks like it’s out of Indian Creek, even though there are bolts next to the crack. The route does not go up a vertical finger crack to a roof. Keep in mind what climbing tools looked like in 1938! This was one of the first routes ever accomplished with crampons that had front points, and only two of the four climbers had them. Ice axes did not have drooped picks, nor teeth in the picks.
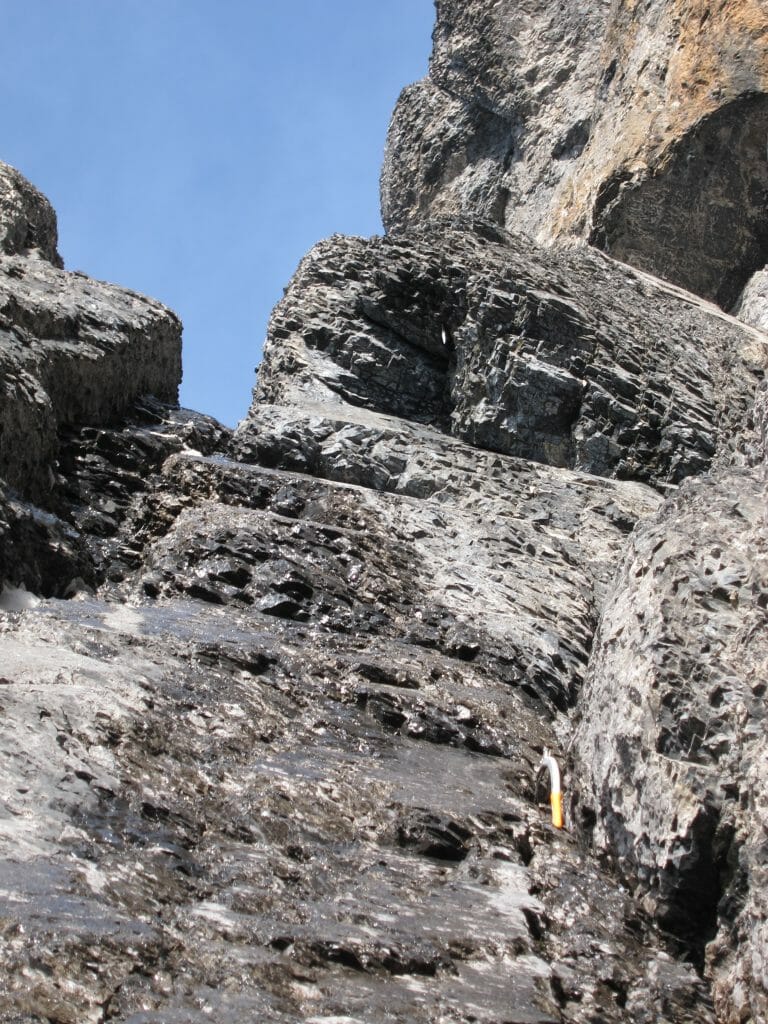
“Extreme” in 1938 was 5.6. But they could climb a ton of 5.6. With a static rope, a hip belay, and no gear. You’ve got modern tools and crampons and dynamic ropes, but there’s still not a whole lot of gear because the rock is compact. So if you can’t lead 5.6 (this means ALL members of the party) without placing gear, then this route is not for you (yet).
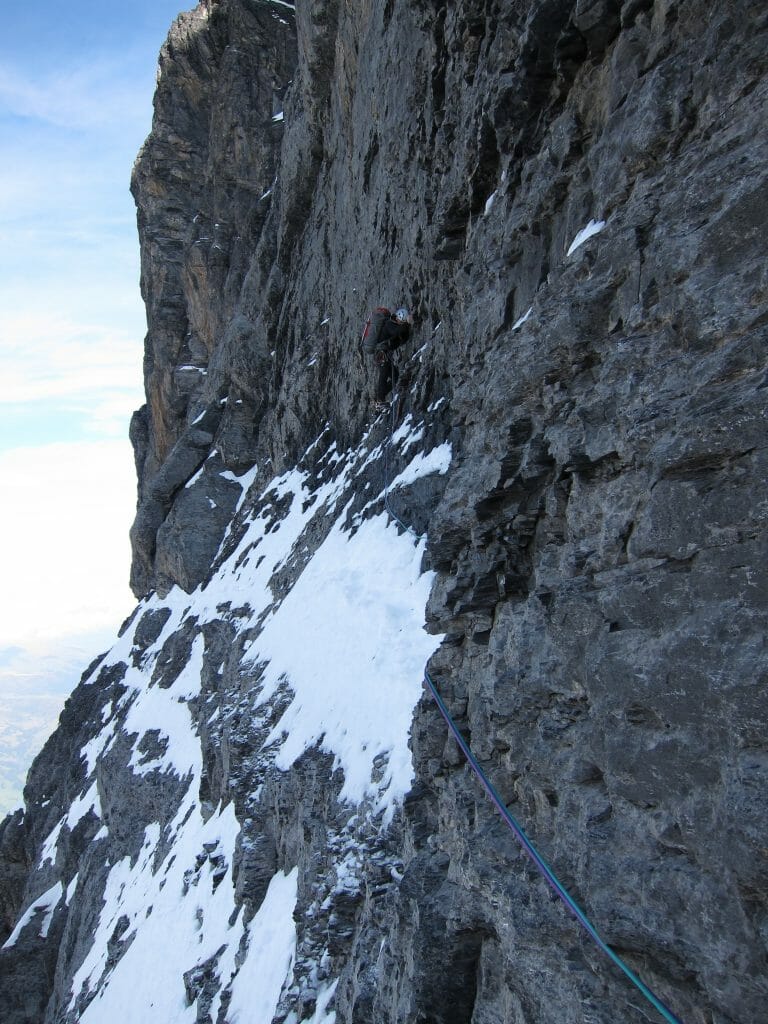
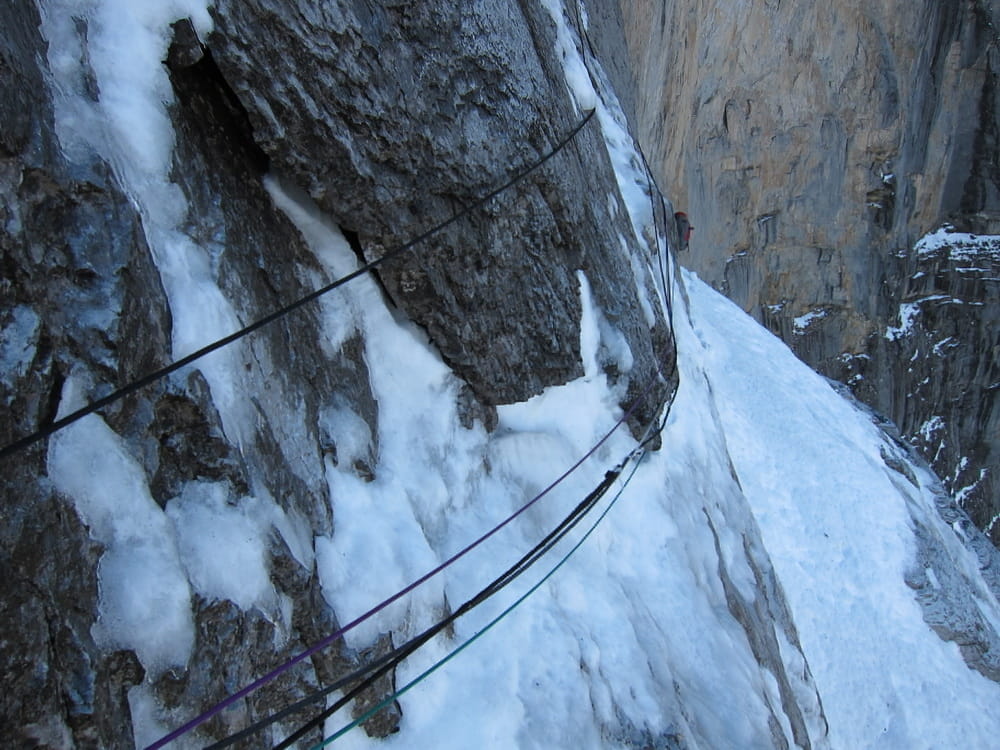
The Traverse of the Gods
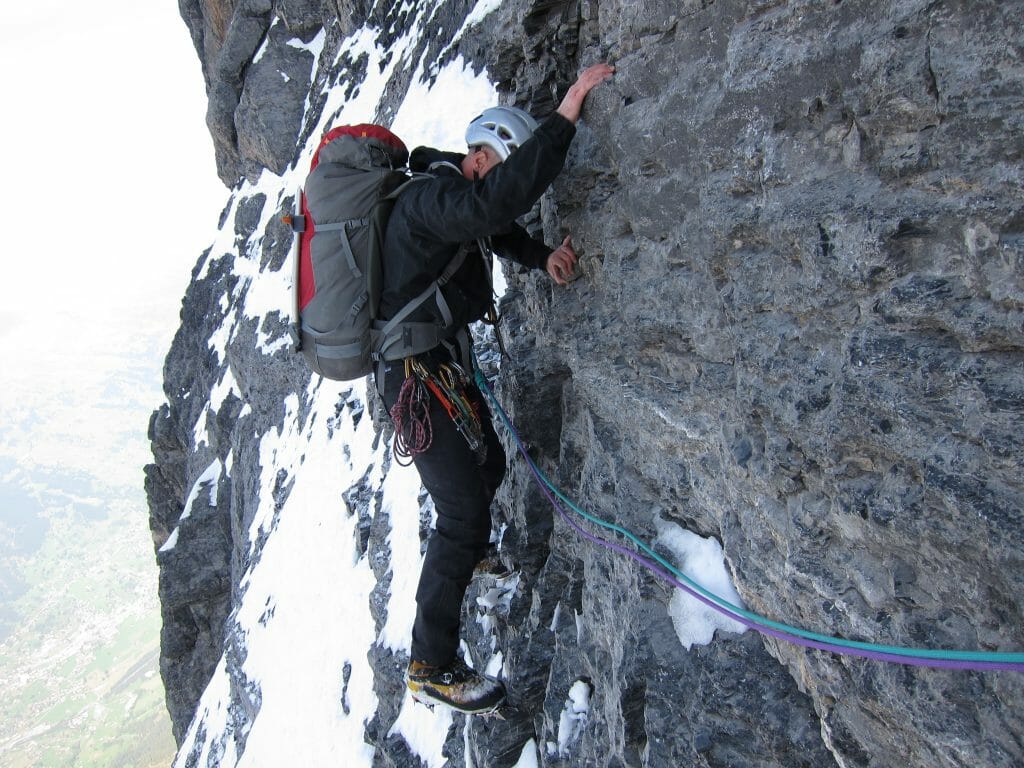
This pitch is in my mind the difficulty crux of the route. The climbing is delicate, the protection is minimal, and what protection is there is not reliable. And the exposure is massive. This is why everyone in the party has to be comfortable soloing 5.6 in crampons because both the leader and follower are massively exposed if they fall. No-fall zone. Got it? If you’re lucky, in certain years, this pitch has enough snow to give you steps, but don’t expect it.
How the Big Features Fit Together
Roughly speaking, the big features you need to memorize and understand are the Difficult Crack, the Hinterstoisser Traverse, the First Icefield, the Ice Hose, the Second Icefield, the Death Bivouac, the Ramp, the Brittle Ledges, the Traverse of the Gods, the Spider, the Crystal Crack, the Exit Cracks, the Summit Icefields, and your descent of choice.
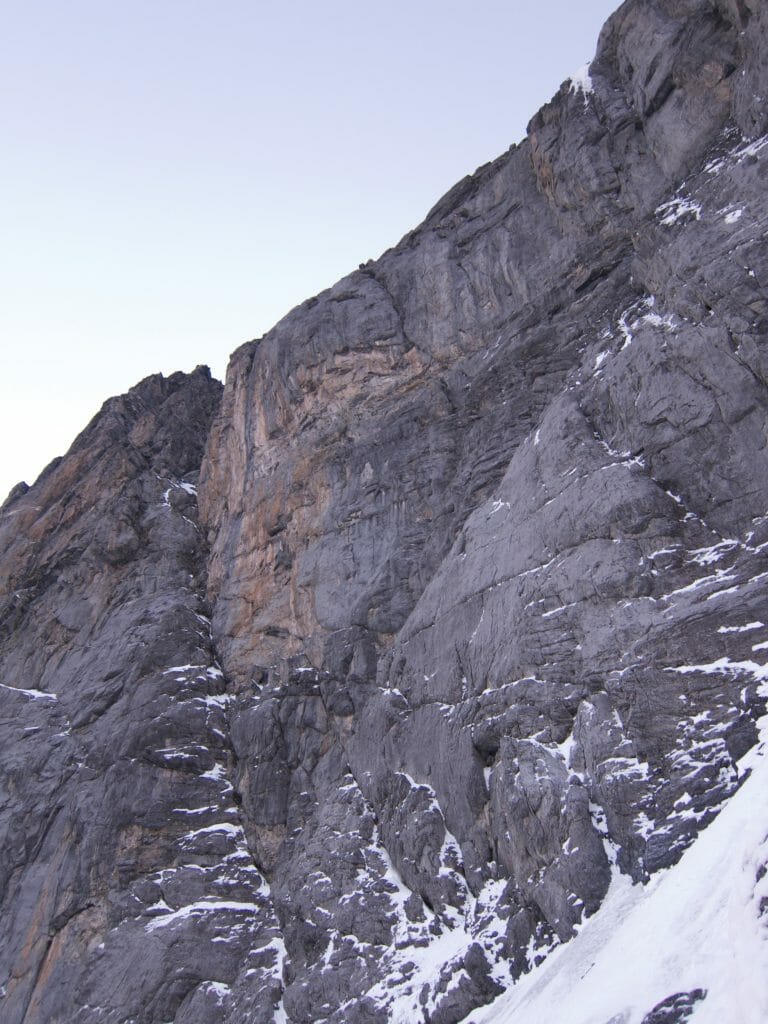
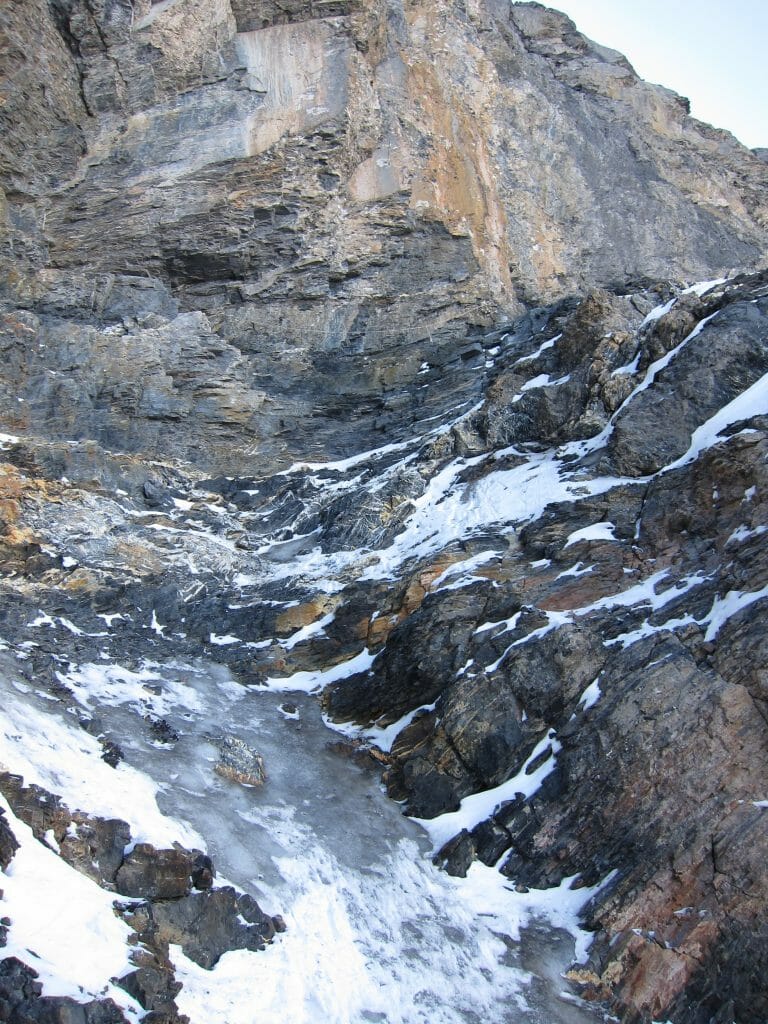
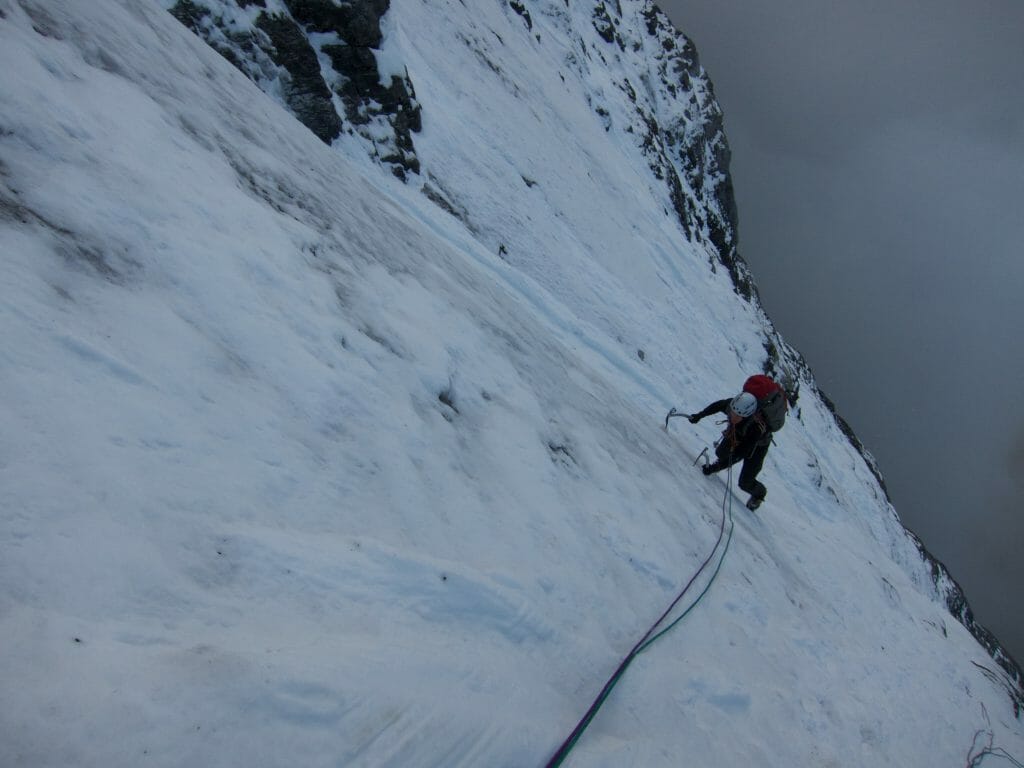
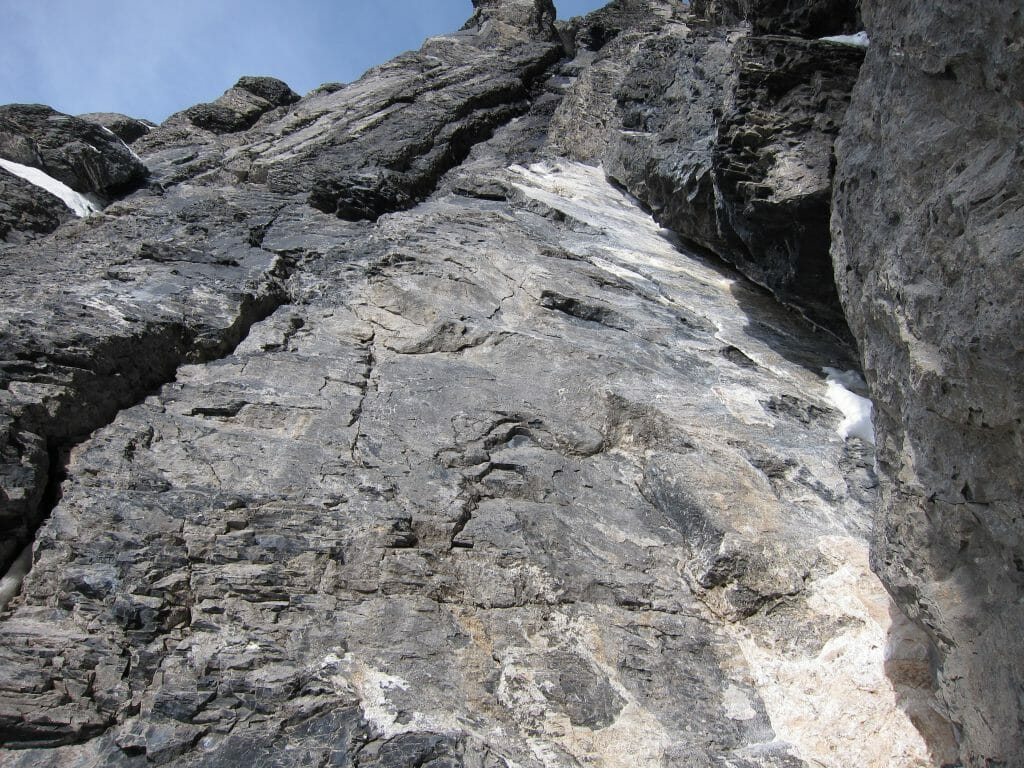
Remember that those guys were bad*ss motherf*ckers. They were good. They were tough. And they wanted it bad. And they were also very clever. They worked out the mountain’s weaknesses, and this is, to my mind, a big part of what makes the route so brilliant. It follows weaknesses for almost 2,000 meters (6,000 vertical feet). The respect one has for the climbing abilities and sheer cunning of the first ascentionists is a big part of what makes this one of the most brilliant routes I have ever climbed.
10 Keys to Success on the North Face of the Eiger
1. It must be below freezing all the way to the bottom of the face.
If it isn’t, the route will be unacceptably dangerous. I personally would not make exceptions on this point.
2. Today, in my opinion, the route needs to be in winter condition to be enjoyable and safe.
This means frozen—when I did it we did not experience any rockfall—and holding enough snow that has transformed into névé. If that has happened, there may be frozen steps that will allow for relatively quick passage across the icefields.
3. Know exactly how to find the Difficult Crack and what it looks like.
I’ve included pictures, but I’m not going to spell it all out for you.
4. Know the descent from the base of the Ice Hose.
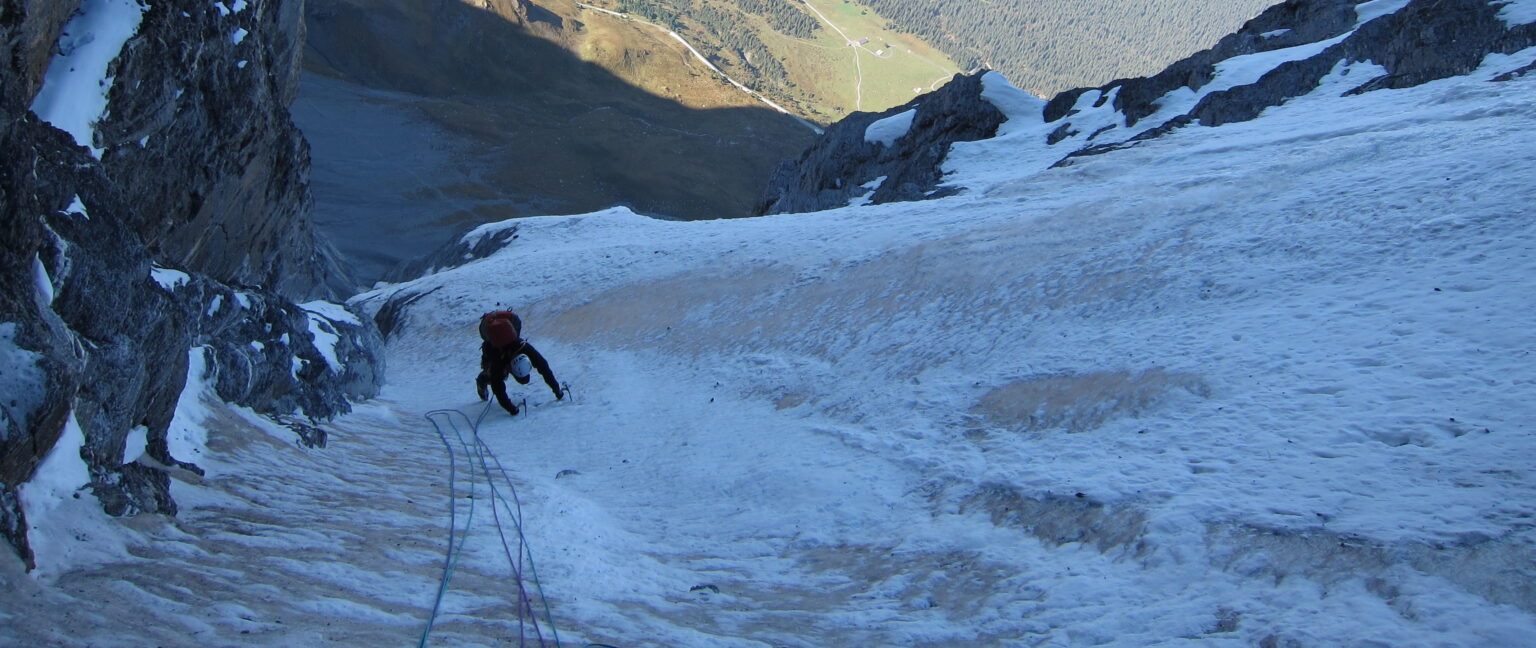
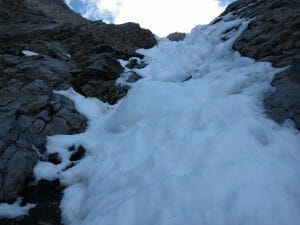
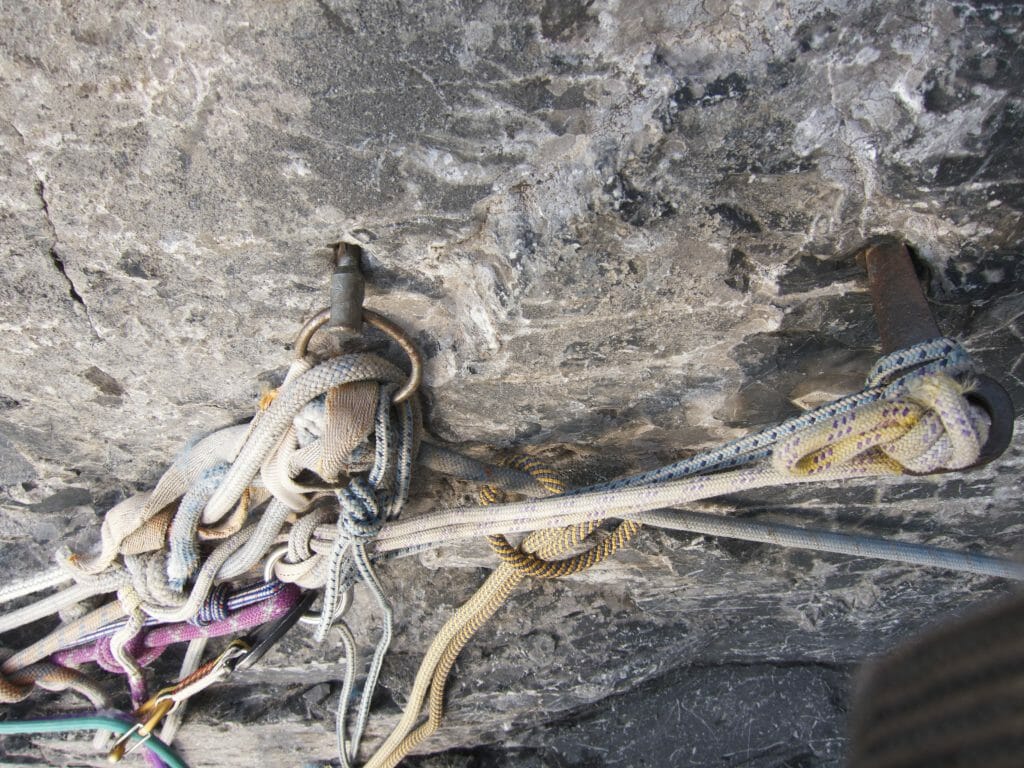
There are rappel stations from near that point that descend steep terrain to the start of the Hinterstoisser. The reason is that the Ice Hose turns back a lot of climbers. It’s steep, sometimes delicate ice climbing without a lot of protection. If you back off this lead you need to know how to get down. If you know where to look, you can see if the Ice Hose is there or not with a good pair of binoculars. When scoping routes in the mountains, remember that ice is either blue or gray. Snow is white.
5. Know where the Death Bivouac is.
In my opinion, the Death Bivouac is the only good bivouac on the face besides the sites on the summit ridge near where the route tops out. I wouldn’t consider bivouacking anywhere else, unless I was forced to. The place is small and can fill up.
6. Be prepared for the Traverse of the Gods.
An amazing piece of climbing. But you’d better not fall.
7. Know the Crystal Crack.
This is technically the crux of the route, but with the protection available it’s a yawn compared to the psychological cruxes you’ve already done to get here.
8. Don’t underestimate how far you still have to go from the base of the Exit Cracks.
This is good, sustained climbing. You’ll need to tap into some fitness to get to the summit ridge from here; it’s not close.
9. Be aerobically ready for the Exit Icefield.
This is the reason you train aerobic capacity and legs. Hundreds of vertical meters of steep(ish) 50-to-60-degree ice that you need to dispatch quickly. Further than you want it to be.
10. Again, know the descent.
Except in perfect weather, the Eiger is not easy to descend. So know and understand the terrain and make sure you did your homework—ideally with your own GPS creating your own track in perfect weather while climbing and descending. If anyone creates a high quality GPX file of the west flank descent, email it to me (steve@uphillathlete.com) and I’ll post it up here. Otherwise, here is a page with excellent information and photos of climbing the west flank.
Be sure to check out our training plan specific to routes such as the Eiger.
